The Ultimate Guide To Installing A Trough Or Bowl Urinal
![]()
Installer’s Guide: How To Install A Urinal
Once you’ve decided on a urinal (or urinals) for your venue, it’s time for the ‘fun’ part: installation. Urinal installation can be a tricky business, and there’s certainly no shame in calling a plumber if you’re not confident you can do it yourself; however, almost anyone can install a urinal with the right planning and preparation.
If you’re still not sure whether to go for a trough or bowl, vitreous china or stainless steel, then you may want to check out our buyer’s guide to urinals. Otherwise, read on to discover the ins and outs of urinal installation.
Planning
Before plumbing in your urinal, you’ll need to spend some time thinking about mounting heights. There are no hard and fast rules governing this issue, but we normally recommend the following:
Adults only: 660mm
Children (secondary school age): 560mm
Children (primary school age): 500mm
Infants: 430mmThe above measurements refer to the height between the floor and the front lip of the urinal. If you’ve opted for individual bowl urinals and your venue caters to mixed age groups, you can install them at different heights.
Cistern height
The cistern that supplies water to your urinal or urinals should be mounted between 1800mm and 2000mm from floor level to the underside of the cistern. The flush pipe provided with your urinal will normally be sized to suit the ideal mounting height for your cistern.
Preparation
Before you commence work, it’s important to make sure that you have all of the necessary tools and materials to hand. Every urinal and venue is different, but as a minimum you’ll need:
- A hammer
- A wrench
- A screwdriver
- Nails
- Caulk
- Wall brackets (for wall mounted urinals)
- Pipework (this should be supplied with your urinal)
- The urinal
- The cisternInstallation
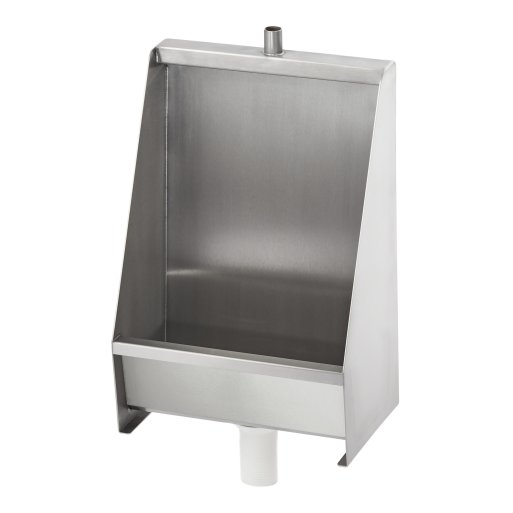
For wall hung urinals, screw the mounting brackets into the wall and then slide the unit down onto them securely. Then use the fixing holes at the bottom to secure the urinal to the wall. For floor standing urinals, use the fixing holes on the flanges to fix the unit to the wall. Ensure that the top edge of the urinal is level.
-
The supplied urinal waste should be fitted to the outlet hole in the channel of the urinal; this can then be connected to an appropriately sized trap and then to your waste pipe.
-
Connect the flush pipe to the urinal’s inlet stub pipe with a compression fitting.
-
Install the auto syphon into the hole at the bottom of the cistern.
-
The cistern should be secured to the wall using appropriate wall fixing. Make sure that the cistern is level. Connect the flush pipe to the syphon tail using a cap nut and rubber ‘o’ ring; the flush pipe should enter the tail of the syphon by no more than 25mm. The flush pipe can be cut to size if necessary.
-
Secure the flush pipe to the wall using downpipe clips.
-
Connect the petcock to your water supply using a proprietary tap connector.
Accessories
If you’ve opted for bowl urinals, you can enhance privacy with the use of divider screens. Available in stainless steel, they normally come supplied with wall brackets or flanges, meaning that they can simply be screwed into the wall.
We also recommend installing a flush controller such as the Marnic Water Watch. Flush controllers use infrared technology to discharge the cistern only when a urinal has been used, thereby reducing water usage (and, in turn, your bills).
-
-
Posted by Paul Thorn
10th August 2018

 UK's Largest Stockholding
 Next Day Delivery Available
 UK Mainland Delivery from £15
 Minimum 1 Year Guarantee