Drinking Fountain Maintenance
![]()
Maintenance of Drinking Fountains
Stainless steel drinking fountains require minimal but regular maintenance. Alongside regular cleaning the tap should be checked to make sure it is operating properly. It may be a simple tap but regular use will increase wear times, and if it is not used on a regular basis the make sure the tap isn’t sticking and wasting water.
Many local water boards have leaflets and guidelines on installing and maintaining drinking fountains in public areas. It is best to contact your local water board for their specific advice.
![]()
Adjusting Drinking Fountain Bubbler Valve Taps
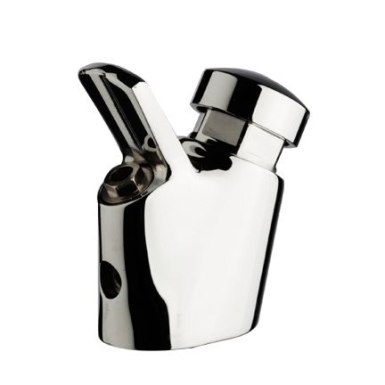
The bubblers and bottle filling valves can be adjusted to increase or decrease the flow rate and projection of the water stream.
The following operation can be performed without disconnecting or isolating the water supply.
With a suitable sized allen key adjust the water flow by turning the allen screw below the outlet. Anti-clockwise will increase the flow and clockwise will reduce the flow of water. This can be undertaken whilst holding the button down so that the desired flow rate can be achieved.
Leaking Bubbler Valve
The bubbler valves are very robust but can sometimes leak if they have been subject to freezing weather. The water inside the cartridge can freeze causing the cartridge to crack. To prevent damage the water supply should be isolated and the water drained from the pipework and valve.
If leaking does occur the water should be isolated and the whole button and cartridge assembly can be unscrewed from the body and replaced with a new unit.
Care should be taken when working with water appliances and if in doubt it is best left to a competent professional.
-
Posted by Paul Thorn
1st January 2018

 UK's Largest Stockholding
 Next Day Delivery Available
 UK Mainland Delivery from £15
 Minimum 1 Year Guarantee
